Sunday, August 18, 2013

Well it's the big push to get the boat into the water. I found it much easier to raise the mast single-handed if I used the two port winches to pull the line attached to the jib halyard. I am planning on sailing Labor Day Monday (Sept 2, 2013). I pressure washed the mildew and grime off the deck and washed the cabin area which was way more work then I would have liked. There was mud, old hornet nests, mud daubbers nests and beer cans stuck way up in the aft end. I replaced the halyards w/ new rope but I just used cheap rope from Lowes for now. I did not want to spend the $$ on good line until I knew the boat sailed or at least floated. I replaced the board the traveler sits on w/ a piece of composite decking I had laying around. It worked well. I seated the board w/ silicone for now because I plan on removing it next year for a paint job. I used stainless steel #10 2" bolts w/ nylon locknuts underneath.I added aluminum backing plates which I made from stock aluminum bar.
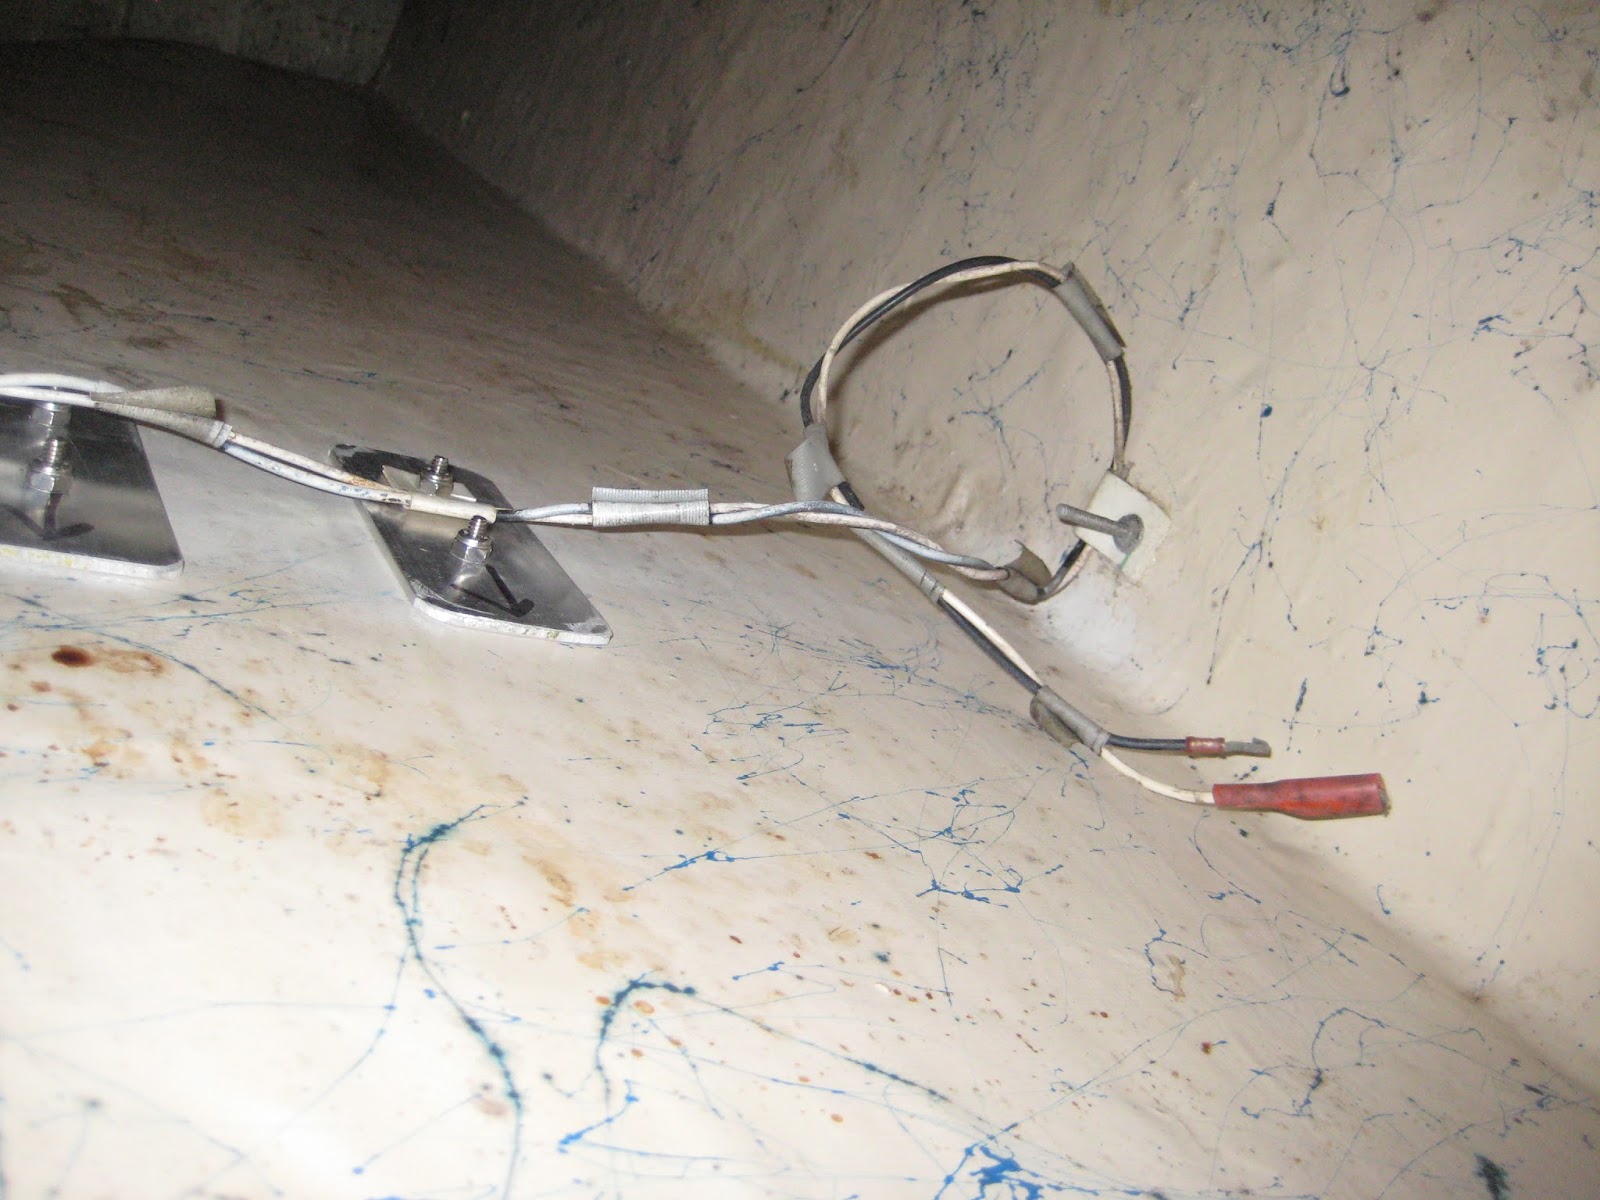
Tractor Supply sold the aluminum. I used a bar that was 1/8"x2"x36" for $12.99 then cut it into 5" pieces for the backing plates. The original backing was 1/8" plywood which was flaking apart. While I was laying on my back looking up I noticed there were several fittings that had no backing plates. I can't imagine this is a good idea and plan on adding backing plates to all the fittings but that will have to be another day. I was looking at the wiring in the boat. I have no idea where the battery is usually stored. If anyone can shed some light on this I would appreciate it. There are several areas where wires disappear into the fiberglass and I am not sure how all this goes together. There is a main switch board. For now I do not plan on sailing at night but I am sure that will come. If anyone has ideas about how this wiring works I would appreciate your help so I am not reinventing the wheel.In the forward section there is a lower compartment that is covered by two plywood doors. In this compartment is a round plastic fitting where a wire goes into. The fitting is havily caulked w/ silicone (sloppy job at best). The wire from the fitting disappears into the wall of the box which is below the plywood cover. I am assuming this is the speed indicator relay. The only instrument on the boat is a speed indicator located topsides on the straboard wall next to the cabin doorway. The next step is to check out the outboard. I have an ancient 4HP outboard but it is standard length. I hope to be able to rig up something w/ the motor bracket that came w/ the boat so I can use it. I do have a paddle but I would like to use the motor if possible. I can't see buying a long shaft motor until I am sure the boat is sea worthy. Once all the grime was off the deck I could inspect the paint job done by the previous owner. It was a poor job w/ paint drips and puddles. The fittings were not removed either. Next year I plan on removing all the hardware and stripping off the paint and starting from the fiberglass. I am not sure what to do with the anti-slid areas. These were painted over. I am thinking I will have to use chemical paint remover or I could sand it down flat and add grit to the paint in those areas for anti-skid action.

Wednesday, July 31, 2013

Working on the rudder. I needed a new tiller handle so I made one out of a scrap piece of hickory. The problem was that it was just a little thinner then the rudder so when I clamped the bolts tight I had a hard time fitting it over the head of the rudder. I bought the aluminum head piece from Stephen Jenson at San Juan Sailboats(Stephen@sjsailboats.com) for $20. I used a hitch clip to attach it to the rudder head to make taking the tiller handle off easier. It's easier to store w/ the handle off. I had obtained the tiller handle specs from someone in the community but I cannot find the e-mail. Basically it is 48" long and has a 3" drop from the rudder end. The aluminum cap is blank so you have to drill your own holes. It was fairly easy to measure the hole on the rudder head and where it should appear on the aluminum cap. A drill press is handy when making the holes. I used 2 bolts to attach the handle. I have seen 4 bolts on some pictures but it seems 2 should suffice. I'll let you know once I have the boat in the water. The outer layer of blue paint was chipped and peeling. I scraped it down to the fiberglass using a wallpaper scraper which worked well. I plan on sanding down the rest and for this year I was just going to paint on a layer or two of polyurethane varnish I have left over from the tiller handle just to help protect the fiberglass a bit. Again, this year I just want to get the boat in the water. Next year I'll make her pretty.I would also like to find another method to keep the rudder in the down position. The elastic rope tied in a square knot doesn't seem to be the best method though it is functional. If anyone has any other ideas I would love to hear them.
The next job was to make a new traveler base. The old one had rotted and when I pulled it out there were actually carpenter ants living in the wood. I had some composite decking scaps and used a piece as a new base for the traveler. I plan on using the same screw holes from the old traveler. I figure the fewer holes in the fiberglass the better. I had to crawl into the bunks to undo the bolts that were holding down the prior traveler base. No an easy task - I am 6'2" and 220lbs - tight fit. I used duck tape to hold the new traveler base in place then went back into the bunk space and drilled up through the existing holes to mark the spots on the new traveler base.
After I finish these two projects the only thing left before I can put her into the water is making a new cabin door and placing the registrations numbers on the hull.

Sunday, June 30, 2013

Well I finally got around to putting up the sails. First I stepped the mast. I found one needs to be careful that all halyards and lines need to be on the proper side of the spreaders before raising the mast. I tried raising it myself using a line attached to the jib halyard but I didn't find this as easy as it was described on the rigging forum in the SJ Org site so I enlisted the help of my wife and it went right up. One mistake I made was not making the stern mast crutch high enough so the mast resting on the crutch would clear the hatch cover so I could place the hinge pin. Mine is too low so I had to lift it about 12 inches to clear the hatch cover. I had to undo the side rigging in order to pull the the mast base back far enough to engage the hinge pin.  The backstay is not adjustable (except for the turnbuckle). I doubt I will be racing so I am not sure how important that would be for cruising but I am considering a simple block adjuster. Of course I would need a new wire.  My jib and main halyards are steel w/ a line attached. I will need to replace the rope part but the metal seems serviceable for now. All the rigging seems to be in good shape except one side shroud has some broken wires. I will need to replace that one. A main, jib, and 130% genoa came w/ the boat.. Today was the first time I was to see the sails. I was concerned because if they were ripped, torn , or eaten by mice I am not sure I wanted to sink the money into this project to buy all new sails but I was pleasantly surprised - they were all in good shape. They were dirty and stained but no rips or holes. My sail number is 263. My next step is to make a tiller handle, a new wooden bed for the traveler and clean out the cabin. All the cushions are trashed and there is mold and mildew that needs to be removed. All the carpeting and anything not fiberglass needs to be removed. My plan is to make the boat sea worthy this year and next year I plan on making it pretty. I had planned on building a cradle in order to inspect the keel but I might just put her in the water and see what happens.

Thursday, April 11, 2013

The first thing I fixed were the wheel hubs. I put in new bearings. I also needed new lights. Then I sent the tipping parts of the trailer  and the forward mast crutch to be sandblasted - as you can see by the picture it was fairly rusty.
 The place where I took it to be sandblasted was also the local machinist. The main pole was round and there were too many intricate parts to remove the rust by hand. He extended the metal holder for the bow butterfly roller. The old one was in the wrong position. I used a heavy duty wire wheel on an 4" angle grinder to remove rust on all the flat surfaces. I used a rust preventing paint that I obtained from the local auto parts store. The owner said all the loggers in the area used this paint for their trucks. He said you don't even have to grind the rust off - just paint over it. I figured if loggers endorsed this then it had to be pretty sturdy stuff. I still ground off the rust. The machinist also recommended a rust paint called POR (paint over rust) which he said was similar to the paint I had. I replaced the winch - the old one was beyond repair.  The machinist also made me a new rear mast crutch that fits in the rudder gudgeons. I had him drill a hole in the pintle so I could put a cotter pin in to keep it from bouncing out. I plan on removing the rust from the remainder of the trailer with the angle grinder (this worked well). I also added a spare tire holder I purchased from Tractor Supply for $35 - this seemed a bit steep for all it is but it is sturdy and fits well. The next step for the trailer will be to finish grinding off the rust, paint it, and replace all the rollers and bunks. I will need to get the boat off the trailer for that. I was thinking of building the jackable cradle - I saw this on the SJ Asso. Forum (http://www.sj21class.org/phpbb2/viewtopic.php?f=16&t=230). My other option is to put it in the water at the local marina. They charge $10/night, then take the trailer home to work on it. I am leaning towards the cradle because I will probably need to replace the keel gasket and I would like to see what kind of shape the keel is in. I also added a picture of part of the deck. You can see the mold and peeling paint. I have my work cut out for me.

Monday, April 1, 2013

This blog is to document my attempt to restore a MKI San Juan 21 sailboat. the San Juan series sailboats were made by the Clark Boat company between 1969 and 1984. There were three basic designs of the San Juan 21 (SJ21). The Mark I, Mark II, and Mark III. I have included some links below if you would like more information:

http://sj21class.org/pdf/clark_boat.pdf
http://sj21class.org/index.html

I am not sure how I came to buy this boat. I grew up around the Chesapeake Bay and crewed on many sailboats but never owned one though I thought about it frequently. Then I moved to central Pennsylvania and figured owning a boat would not make much sense here in the mountains. I would look at ads for sailboats from time to time and would daydream about owning a boat but that is as far as it got. Especilly in view of the fact I had four kids and a mortgage. One day I saw this ad in Craigslist for a SJ21 and for some crazy reason I went to look at it. It was a mess.
It had been stored in a yard uncovered for over 10 years. the hatch cover was missing and locals had used it as a "party boat" thus it was full of empty beer cans. The cabin had several large wasp nests and moldy water. But the price was low and it included the trailer so I bought it. That was two years ago. For several reasons I have not been able to devote much time to the boat but this year I plan to get it into the water and sail her. Cosmetically she is in rough shape. There is peeling paint, mold, and lots of cracked gel coat but the hull seems fair w/o defects and I could not find any significant soft spots on the deck. All the deck hardware and mast appear to be in good shape but all lines and halyards will need to be replaced along with the wooden base for the traveler. The owner lost all the turnbuckles and the tiller handle. It came with three sails which are still in bags. The first thing I did was buy new tires. I thought the tires on the trailer were flat but they had just sunk into the ground after sitting in one spot so long. I was surprised they still held air and had decent pressure but the rubber was deeply cracked. I packed the bearings and drove it home  (about 60 miles) looking in my rear-view mirror the whole time waiting for the trailer to fall apart.

I will add to this blog as I go about getting the boat in shape. First I want to make sure the rigging is stable and I have to replace all the lines and sheets. There is work to be done on the trailer and I need a new tiller handle. Any comments and/or suggestions will be greatly appreciated. I have never restored a fiberglass boat before so all this is new. I am fairly handy and the internet is a great resource but this will be a lot of trial and error I am sure..

Tom